
This lesson is made with PSPX9
But is good with other versions.
© by SvC-Design

Materialen Download :
Here
******************************************************************
Materials:
1217493598_textures[1].psp
1228305188_femmes[1].psp
1250147549_paysages_nikita[1].psp
12283242349_divers[1].psp
12283242414_divers[1].psp
tube tekst.png
******************************************************************
Plugin:
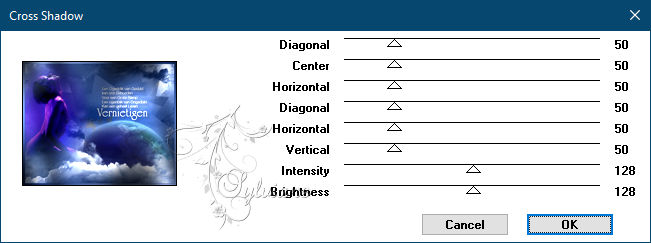
Plugin - graphics plus- Cross Shadow
******************************************************************
color palette
:

******************************************************************
methode
When using other tubes and colors, the mixing mode and / or layer coverage may differ
******************************************************************
General Preparations:
First install your filters for your PSP!
Masks: Save to your mask folder in PSP, unless noted otherwise
Texture & Pattern: Save to your Texture Folder in PSP
Selections: Save to your folder Selections in PSP
Open your tubes in PSP
******************************************************************
We will start - Have fun!
Remember to save your work on a regular basis
******************************************************************
1.
Open a new transparent image of 750 x 600 pixels
2.
Fill image with your foreground color
3.
Layers - New Raster Layer
Selection - Select All
4.
Open 1217493598_textures[1].psp
Edit – Copy
Edit - Paste into selection
Selection - Select None
Set to Luminance (legacy)
5.
Open 1250147549_paysages_nikita[1].psp
close the top layer and stay on the third layer,
Edit – Copy
Edit - Paste as new layer
set to luminance
6.
Open 1228305188_femmes[1].psp
Edit – Copy
Edit - Paste as new layer
Image - Mirror – mirror Horizontal and put in place
7.
Open 12283242414_divers[1].psp
Edit – Copy
Edit - Paste as new layer
and put them as in the example
8.
Open 12283242349_divers[1].psp
Edit – Copy
Edit - Paste as new layer
place them down
9.
Open tube tekst.png
Edit – Copy
Edit - Paste as new layer
Effects - 3D effects - Drop shadow
11/11/50/10 color:#000000
10.
Layer – merge – merge all (flatten)
11.
Image - Add Borders -1 pix – color:#0c2863
12.
Image - Add Borders -7 pix – color:#ffffff
13.
Select your border
14.
Make a gradient from your foreground, linear, angle 45, repeats 1

15.
Fill your border with your gradient
16.
Plugin - graphics plus- Cross Shadow – Default

17.
Selection - Select None
New raster layer and place your name
18.
drop shadow, duplicate the layer with your name
19.
Stand on the original layer of your name and do effects, distortion effects, wind, left, wind force 100
18-
Layer – merge – merge all (flatten)
Save as JPEG
Back
Copyright Translation © 2021 by SvC-Design